
In answer to quite a few emails I’ve had, I have finally put together this little tutorial all about how to turn an everyday photo into something vintage-looking and textural.
The instruction that follow are given for Photoshop, but should translate to other photo editing packages (such as GIMP which is free and works on a PC and a Mac).
Step 1
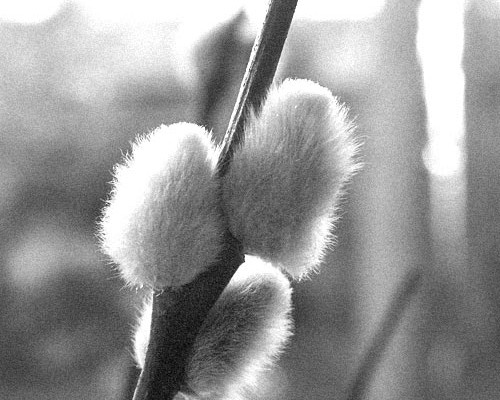
Before we get started we’ll need two things. First of course is our photo. Here I’m using an unassuming shot of a wintry branch.

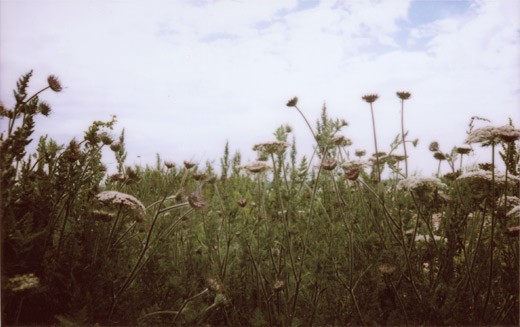
Second is the magic ingredient; our ‘texture’. For the texture photo you can photograph something yourself (concrete, brick, tarmac, your dog’s furry tummy, anything you like), or check out what’s available online – often for free. Start by choosing something with lots of mid-tone greys rather than anything with high contast.
Here I am using texture #66 Brenda Starr on Flickr (you should check out all her work, she has some wonderful free resources)…

Step 2
With your main image and texture image open as two separate documents (side by side) in Photoshop, click and hold down in the texture image – press shift and drag it over onto the main image.
Holding down the shift button means the texture image is now exactly in the centre of your main image.
To make it the same size, go to Image > Free Transform hold down ALT and SHIFT then drag one of the corners in or out until it completely covers the image. Hit Return or Enter to finalize.
Step 3
You should now have one file with two layers – the texture layer should be on top. The next step lets us see through parts of the top layer down to the main image below and controls the transparency.
Make sure you can see your Layers palette (F7 key) and with the texture layer active do the following:
In the Layers palette ‘Mode’ drop-down list choose “Soft Light”

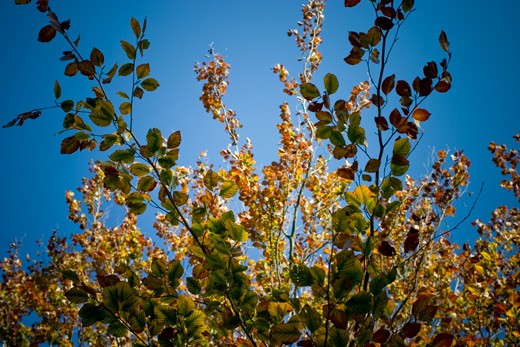
Ta da! What you’ll see is this – we’re almost there…

By all means leave things here if you’re happy with what you see, but there’s a couple more things you can do.
Step 4
To intensify the texture around the edges, create a copy of the texture layer…

As this new layer has the ‘Soft Light’ blending mode applied the effect will immediately seem intensified.
Next we’ll create a mask on this new layer to hide on of the centre of this layer so that we don’t lose detail in the centre.
With your duplicated layer selected choose Layer > Layer Mask > Reveal All – you’ll now see another box appear on the layer palette. Make sure this is highlighted then choose a big soft brush and paint with black in the middle of your image – this will hide that part of the layer so that only the more subtle texture below is showing.

And there you have it! One recipe and so many possibilities. Have fun!

2 Comments
Julia
27 September 2011 at 13:51Wow, great tutorial. Can’t wait to try this out! Thankyou from a very enthusiastic amateur!
Macky
31 January 2013 at 09:00Nice blog..Hope to see more tutorials. Im just an amateur and love doing things in photoshop.