
What is a vignette?
Vignetting is the darkening effect on the corners of an image – once the bane of a photographers life, they are now positively encouraged, enhanced or even added afterwards in Photoshop!

1. .2684, 2. 05980006 – Holga, 3. sunrise. venice beach, ca. 2006., 4. Holga & Fashion ?!
Why does it happen?
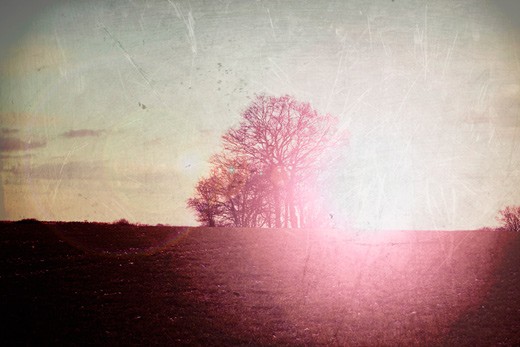
Lenses that aren’t made so well are likely to suffer vignetting – such as all the lovely Lomo (lo-fi) or ‘toy’ cameras out there. Look at these shots from my Diana – this is how they look straight out of the camera…

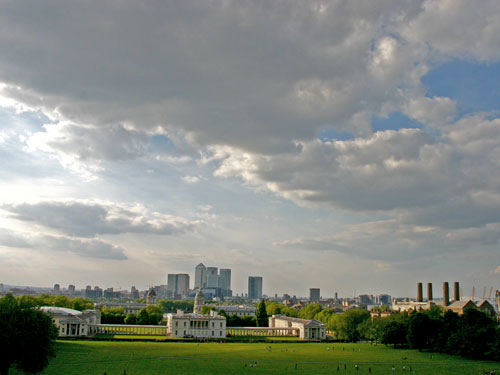
Modern lenses are actually a stack of different lenses in a tube. When the aperture is wide open the front lenses shade the back ones in the corners. This is especially true if you have a full-frame sensor dSLR (such as a Canon 5D or a Nikon D700).
I found some other reasons why vignetting naturally occurs but if I am totally honest, I didn’t understand them, and seriously doubt that even if I had that they’d be much help. If you enjoy talk of co-sines and telecentricity then get on over to wikipedia and knock your socks off!
Why would I want it?
It’s true that vignetting is technically a ‘flaw’, but the recent explosion of interest in lo-fi cameras (and lo-fi emulating camera-phone apps) has meant it’s become de rigueur. It gives added drama to a photograph and leads your eye to the centre of the frame.

How to get it (the natural way)
Use a lo-fi film camera such as a LOMO LC-A, Diana, Holga or Vivitar Ultra Wide and Slim (and use the biggest film the camera will take (i.e. you won’t get vignetting if you use the 35mm back for the Diana – use the full size 120 film without any masks). These have unsophisticated lens groups that will pretty much always give a vignetted effect whether you want it or not.

If you have a digital SLR try using a low aperture lens (such as 50mm f/1.4) set to its widest aperture (so f/1.4 in this case) – switch to aperture priority and shoot away.

I’ve also read that adding a Polarizing filter to your camera will emphasise any vignetting – I haven’t tried this so I will report back if and when when I do.
How to get it (by adding it afterwards)
If you’ve got a photo that’s just not ‘working’ as it is then adding some vignette can be one solution to breathing some fresh life into it. Depending on what software you are using this should be a relatively straight forward thing to do. The trick is not to overdo it – especially on photos with solid areas of plain colour (i.e. a clear blue sky). You can normally get away with a heavier effect if you also go black & white…
In Adobe Lightroom (I’m using version 2.2): in ‘Develop’ mode choose Vignettes > Lens Correction. Start by sliding Amount down to -75 and midpoint to +75 and adjust from there.
In Photoshop (I’m using CS3): Go to Filter > Distort > Lens Correction > Vignette. Again, start by sliding Amount down to -75 and midpoint to +75 and adjust from there.
In Photoshop Elements (I’m using version 8): Select Filter > Correct Camera Distortion. Select Preview check box. Again, start by sliding Amount down to -75 and midpoint to +75 and adjust from there.

2 Comments
Life with Kaishon
26 October 2010 at 20:23I am not a big fan of it. I try to like it. Sometimes I do. Most times not so much… it is fun to see your pictures with it though. I LOVE your pictures.
leonie wise
29 October 2010 at 14:57you write the BEST info sheets.