
I’ve had some very positive feedback about the Instagram-style Photoshop actions I created a few days ago – I’m glad you liked them!
As requested, for those with older versions of Photoshop or who use non-Adobe software, here are some instructions will hopefully help you to create the effects for yourself…
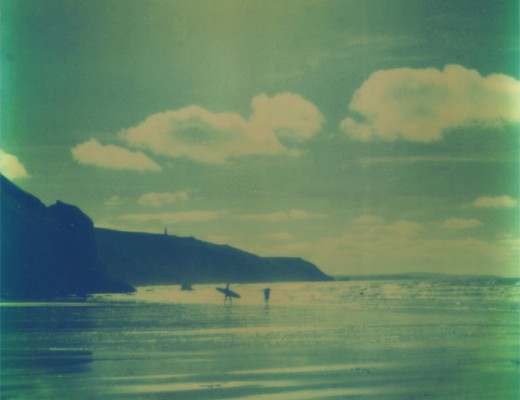
1. This All Used To Be Fields

i) Open image
ii) Create a ‘Color Balance’ adjustment layer…
-Set the ‘Shadows’ to +9, +5, -5
-Set the ‘Midtones’ to -8, -24, -15
-Set the ‘Highlights to +15, +16, -9

iii) Now create a ‘Hue/Saturation’ adjustment layer above the previous one…
Set the ‘Master’ (default) setting to +3, -23, -1
iv) Make a new layer above image and fill it with the colour R255 G217 B204 and change the mode to ‘Multiply’
v) Make another new layer above this and fill it with the colour R0 G0 B255 and change the mode to ‘Lighten’ and the opacity to 50%

And that’s it!
2. Let’s make a mix-tape

i) Open image
ii) Create a ‘Curves’ adjustment layer – alter your red, green and blue curves as well as the combined RGB curve (the black line) so they look like this…

iii) Now, select all (Ctrl + A) and go to Edit > Copy merged
Then Ctrl + D to deselect all and then Edit > Paste
iv) In the layers palette, right-click on this new layer and choose ‘Convert to Smart Object’
v) Now go to ‘Filter’ > ‘Lens Correction’
vi) In this new dialogue select the ‘Custom’ tab and halfway down in the ‘Vignete’ settings, choose -50 and +50, then OK.
And you’re done!
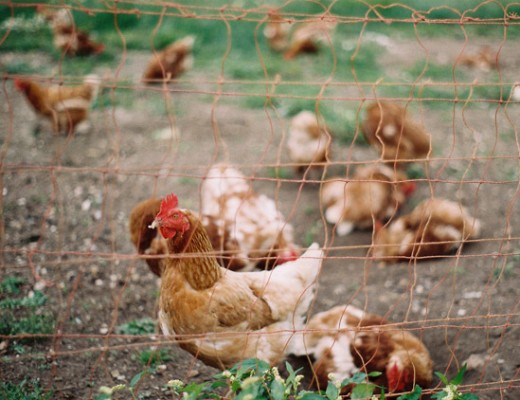
3 Old enough to be your father

i) Open image
ii) Create a ‘Curves’ adjustment layer – make you red, green and blue curves look like this…

iii) Above this create a layer filled with solid colour R255 G0 B204

iv) Set the mode of this layer to ‘Soft Light’ and the opacity to 20%
Easy peasy!
Don’t forget that all these effects are available as Photoshop actions which you can download for free.

9 Comments
olivia
21 February 2012 at 03:27ooh, thanks for this! and the free downloads! I will definitely use these actions!
Angie
21 February 2012 at 20:17Thanks Olivia, hope you like them
Betty Thompson
21 February 2012 at 03:56wow,this is some pretty awesome sauce Angie.thanks so much for sharing! ;D
Angie
21 February 2012 at 20:17Thanks Betty – I love to share
Cass
21 February 2012 at 20:31You’re a star! You really really are. No. Shush. You are. Also, I have a question: for Let’s Make a Mix-Tape, why do you have to convert the copied layer to a smart object before running the lens correction? What difference does it make? What am I missing? I’ve seen a couple of actions now (the other one I think was with lens flare) where the layer was first converted to a smart object but I can’t for the life of me figure out what the advantage of doing that is. Am I completely clueless or what!?
Angie
22 February 2012 at 10:27*blush* thanks
I’m a bit addicted to ‘smart objects’, I think I might do a little blog post about them and why I think they’re so brilliant (thanks for the idea!)
In this case a ‘smart object’ is a better choice – if you apply a lens filter to a normal layer then it applies it permanently and you can’t edit the effect – if you turn it into a ‘smart object’ first, it applies it a bit like an adjustment-layer and you can go back and tweak the effect afterwards.
Cass
22 February 2012 at 17:05Aha! OK, thank you! Oh and yes please! Blog about it! I still have far too much to learn but you always make it fun.
Cass
21 February 2012 at 20:32P.S. there’s a bagel in the post. Well, actually, no there’s not cos I ate them all. But I do promise that if we ever meet, I’ll bring you some home-made bagels!
Angie
22 February 2012 at 10:28I wondered what that envelope of crumbs was all about in the post this morning